Pros and Cons of Insulated Vinyl Siding: Choosing the right siding for your home is a significant decision, impacting both aesthetics and long-term costs. Insulated vinyl siding presents a compelling option, promising energy efficiency and low maintenance. However, understanding its full range of advantages and disadvantages is crucial before making a commitment. This exploration delves into the multifaceted nature of insulated vinyl siding, examining its initial investment, long-term savings, durability, and environmental impact to help you make an informed choice.
This comprehensive guide provides a balanced perspective, weighing the benefits against the potential drawbacks. We’ll compare insulated vinyl siding to other popular materials, analyzing factors such as lifespan, maintenance requirements, and aesthetic appeal. By the end, you’ll possess the knowledge needed to confidently determine if insulated vinyl siding is the right solution for your home improvement project.
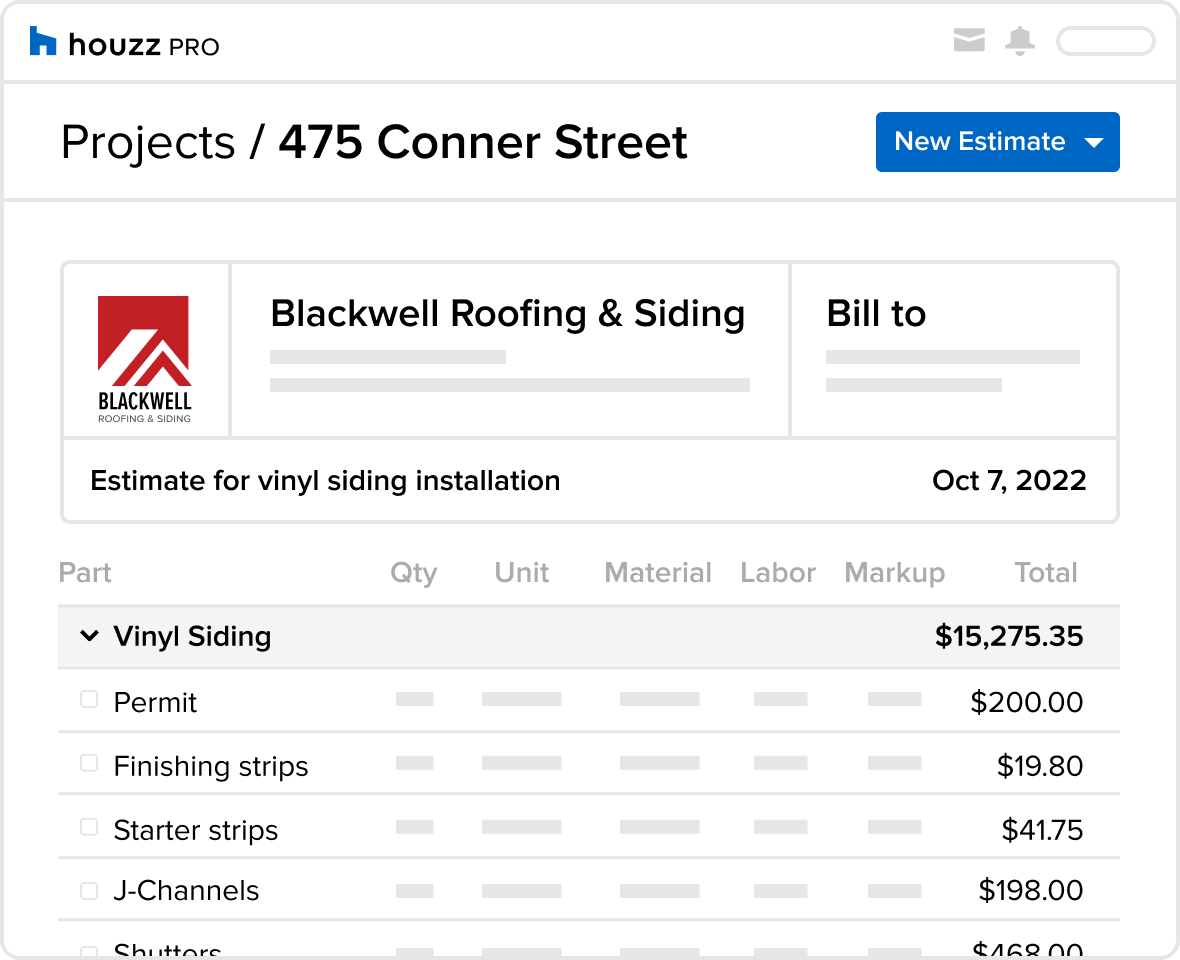
Initial Cost Comparison
Choosing the right siding for your home involves careful consideration of various factors, not least of which is the initial cost. While insulated vinyl siding offers many advantages, understanding its price point relative to other common materials is crucial for informed decision-making. This section will compare the upfront costs of insulated vinyl siding with those of wood, fiber cement, and aluminum siding.
Average Costs Per Square Foot of Different Siding Materials
The initial cost of siding installation varies significantly depending on the material chosen. Labor costs, material quality, and regional differences all play a role. The following table provides average cost estimates per square foot for various siding options. It’s important to remember that these are averages, and actual costs can fluctuate based on several factors.
| Siding Material | Average Cost Per Square Foot (USD) | Range (USD) | Notes |
|---|---|---|---|
| Insulated Vinyl Siding | $8-$15 | $5 – $20+ | Includes installation; cost varies greatly depending on features, thickness, and installation complexity. |
| Wood Siding | $10-$30 | $7 – $40+ | Price varies dramatically based on wood type (e.g., cedar, redwood) and quality. Requires more maintenance. |
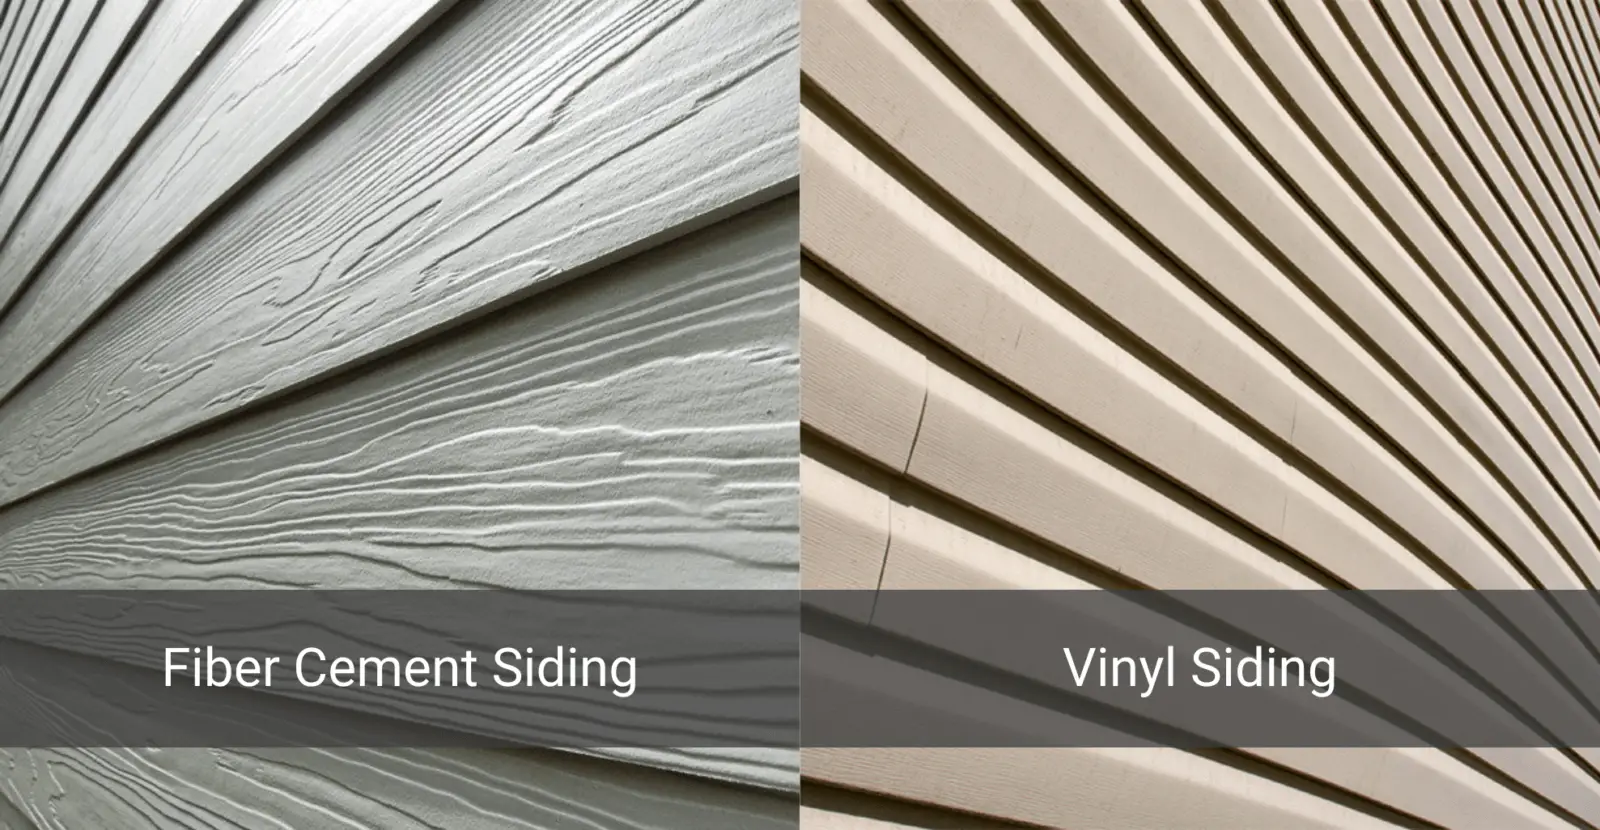
| Fiber Cement Siding | $12-$25 | $8 – $35+ | Durable and low-maintenance, but typically more expensive than vinyl. |
| Aluminum Siding | $7-$12 | $5 – $18+ | Generally less expensive than vinyl or fiber cement, but may not offer the same insulation value. |
Factors Influencing the Initial Cost of Insulated Vinyl Siding Installation
Several factors contribute to the overall cost of installing insulated vinyl siding. Understanding these factors allows for more accurate budgeting and informed comparisons with other siding options.
Labor Costs: Labor costs are a significant component of the total installation expense. The complexity of the project, the size of the house, and the experience level of the installer all influence labor costs. A more complex project with intricate detailing will generally cost more to install than a simple, straightforward job.
Material Quality: The quality of the insulated vinyl siding itself impacts the price. Higher-quality siding often features thicker panels, improved insulation properties, and more durable materials, resulting in a higher initial cost. Conversely, lower-quality siding may be less expensive but may have a shorter lifespan and require more frequent repairs.
Regional Variations: Regional differences in labor rates, material availability, and permitting requirements can affect the total cost. Areas with high labor costs or limited access to materials will likely have higher installation costs than regions with more favorable conditions. For example, installation costs in major metropolitan areas tend to be higher than those in rural areas.
Long-Term Cost Savings
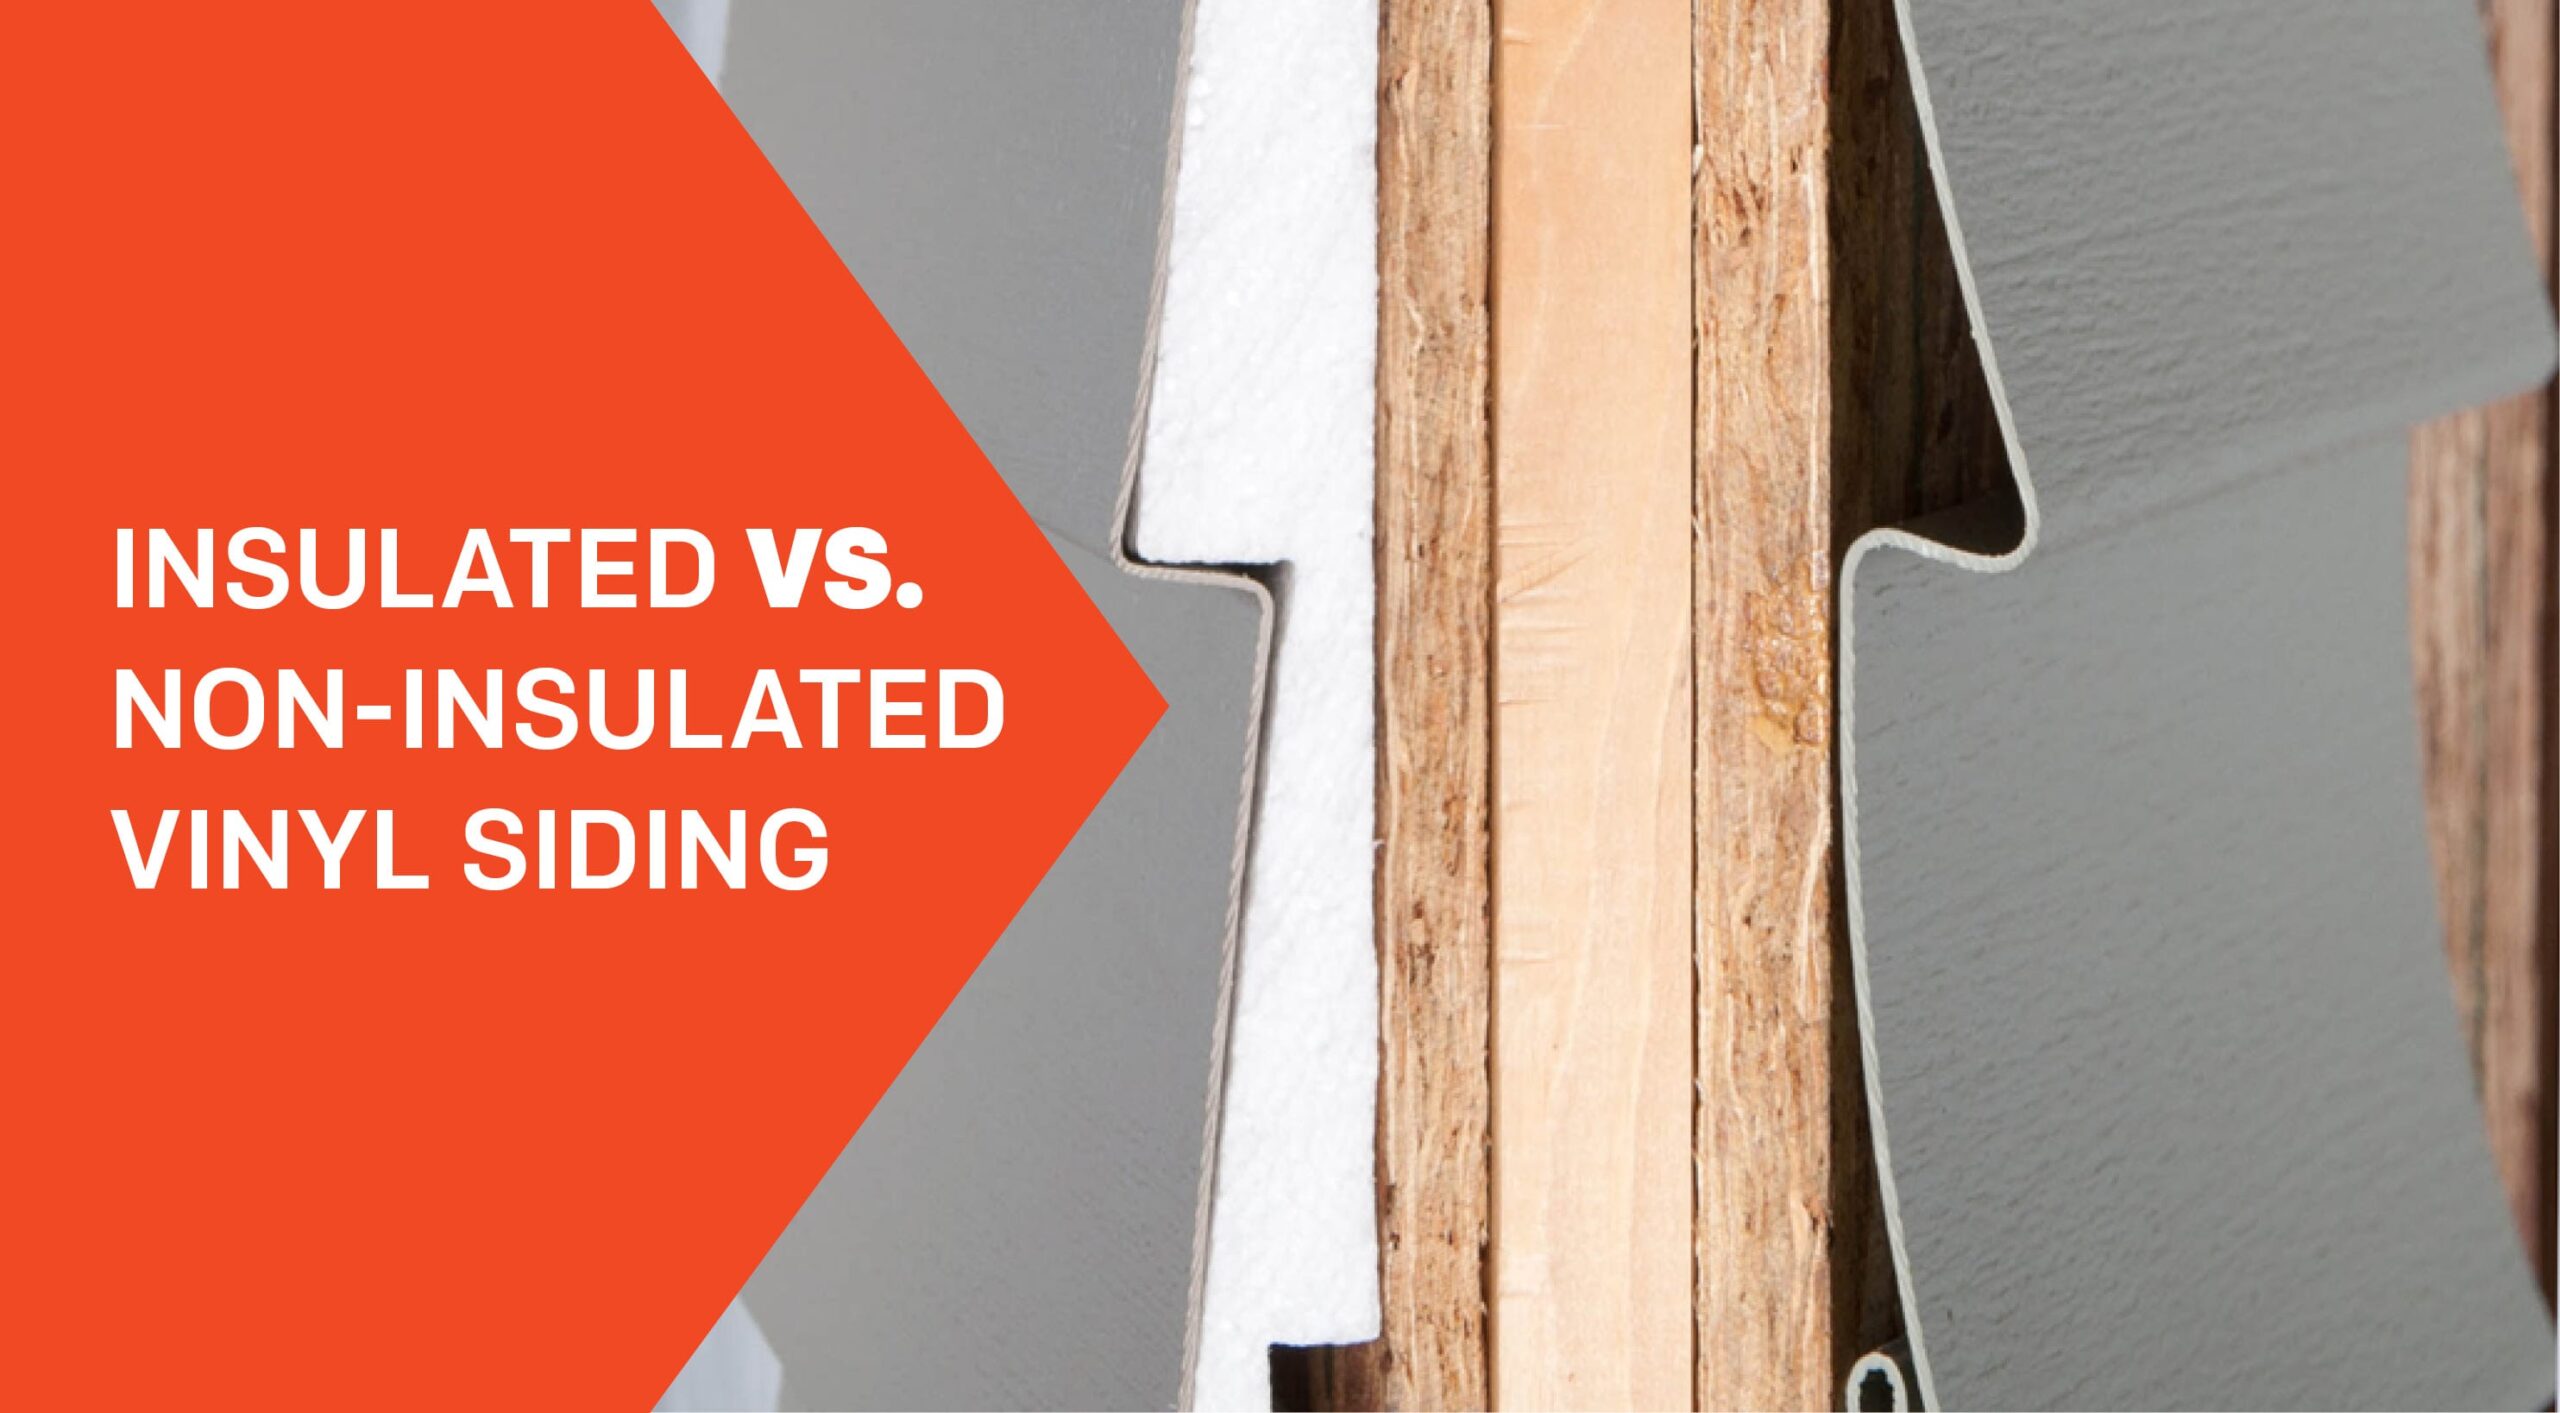
Insulated vinyl siding offers significant long-term cost savings primarily through reduced energy consumption and lower maintenance needs. While the initial investment may be higher than some other siding options, these savings accumulate over the lifespan of the siding, often making it a financially sound choice in the long run.
The insulation properties of insulated vinyl siding work by creating a barrier that reduces heat transfer between the interior and exterior of your home. This means less energy is required to heat your home in the winter and cool it in the summer. For example, a home in a climate with average winter temperatures of 30°F and summer temperatures of 90°F could see a reduction in heating and cooling costs of 10-15% or more depending on the existing insulation levels and the R-value of the vinyl siding. This translates to substantial savings over a period of 10, 20, or even 30 years. A homeowner with an annual energy bill of $2000 could potentially save $200-$300 annually, accumulating to thousands of dollars in savings over the lifetime of the siding. This savings is further amplified by the increasing cost of energy.
Maintenance Cost Comparison
The long-term maintenance costs associated with insulated vinyl siding are generally lower compared to other siding materials such as wood or aluminum. This is due to the durability and low-maintenance nature of vinyl.
- Vinyl Siding: Vinyl siding is resistant to rot, insect infestation, and warping. It typically requires only occasional cleaning with soap and water to maintain its appearance. Repairs are infrequent and usually involve replacing individual panels, which is relatively inexpensive and easy. The lifespan of properly installed vinyl siding can exceed 30 years, minimizing the need for complete replacement.
- Wood Siding: Wood siding requires regular painting or staining to prevent deterioration and insect damage. It is susceptible to rot, warping, and cracking, necessitating more frequent and costly repairs. The lifespan of wood siding is significantly shorter than vinyl, often requiring replacement within 15-20 years.
- Aluminum Siding: While aluminum siding is durable and relatively low-maintenance, it can dent easily and is prone to fading over time. Repairs can be more complex than with vinyl, potentially involving specialized tools and techniques. Aluminum siding, while lasting a long time, may require repainting to maintain its appearance.
Durability and Lifespan
Insulated vinyl siding offers a compelling combination of aesthetics and longevity, making it a popular choice for homeowners. Understanding its durability and lifespan, compared to other materials, is crucial for making an informed decision. This section will explore the expected lifespan of insulated vinyl siding and its resilience against various weather conditions, providing a comparative analysis with other common siding options.
Insulated Vinyl Siding Lifespan and Maintenance Compared to Other Materials
The lifespan of siding varies significantly depending on the material, quality of installation, and environmental factors. Proper installation and regular maintenance can extend the life of any siding. The following table provides a general comparison of expected lifespans and typical maintenance needs for several common siding materials. Note that these are estimates, and actual lifespans can vary.
| Siding Material | Expected Lifespan (Years) | Maintenance Needs | Cost Considerations |
|---|---|---|---|
| Insulated Vinyl Siding | 30-50+ | Occasional cleaning, occasional repair of minor damage. | Relatively high initial cost, but lower long-term maintenance costs. |
| Wood Siding | 20-40 | Regular painting or staining, occasional repair or replacement of damaged boards. Prone to rot and insect infestation. | Moderate initial cost, but higher long-term maintenance costs. |
| Aluminum Siding | 30-50 | Occasional cleaning, repainting may be needed if desired. | Moderate initial cost, relatively low maintenance costs. |
| Fiber Cement Siding | 50+ | Occasional cleaning, repainting every 10-15 years. | High initial cost, but very low maintenance costs. |
Resistance to Weather Conditions
Insulated vinyl siding is engineered to withstand a wide range of weather conditions. Its resistance to extreme temperatures prevents expansion and contraction issues common with wood or aluminum siding, minimizing warping and cracking. The material’s inherent water resistance significantly reduces the risk of moisture damage, rot, and mold growth. While impact-resistant, insulated vinyl siding may dent or crack from severe impacts, such as a large hailstone or falling branch. However, individual panels can usually be replaced relatively easily and inexpensively compared to repairing damage to other siding materials. For example, a dent in a vinyl siding panel might require only replacing the damaged panel, while a similar dent in wood siding might require significant repair or replacement of multiple boards. The low maintenance needs of vinyl siding, especially compared to wood, are a significant advantage in harsh climates. For instance, in regions with frequent snow and ice, the resistance to moisture damage reduces the risk of costly repairs associated with water intrusion and subsequent rot.
Aesthetic Appeal and Design Options
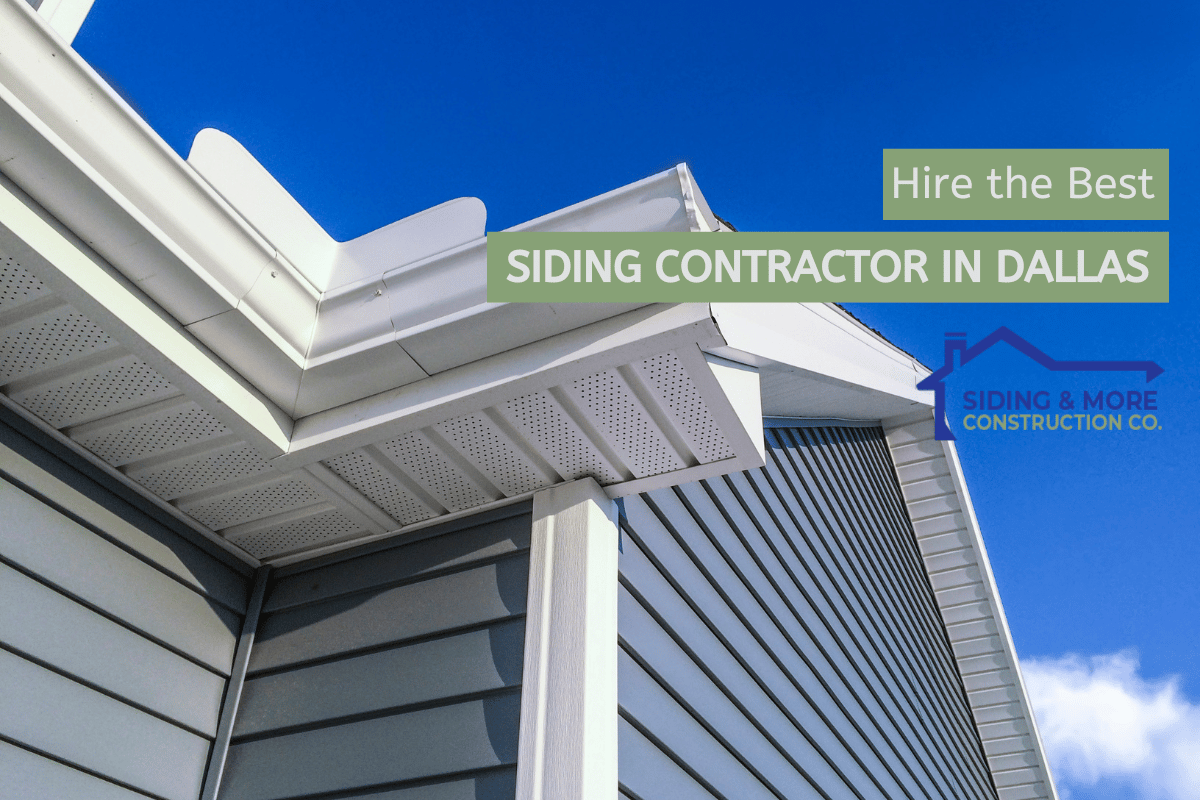
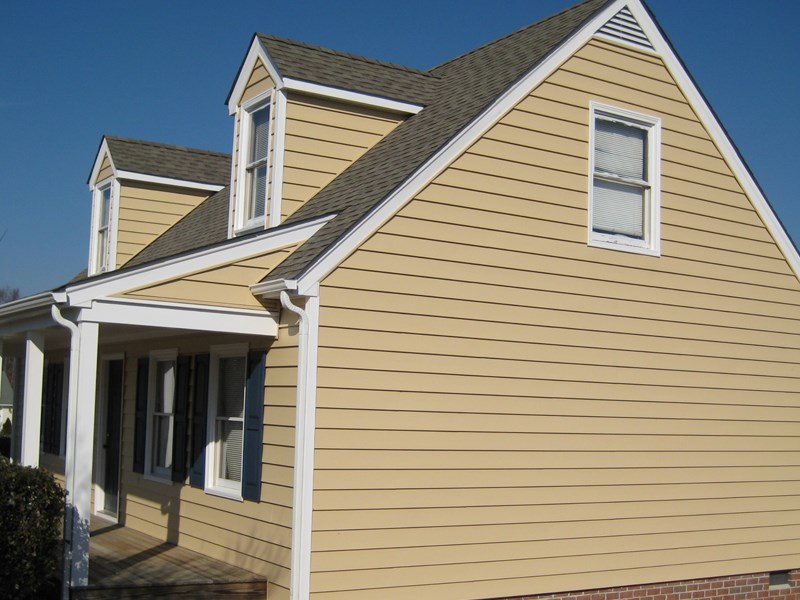
Insulated vinyl siding offers a surprisingly diverse range of aesthetic options, moving beyond the perception of a purely functional material. Homeowners can achieve a variety of looks, from traditional to contemporary, significantly impacting curb appeal and property value. The availability of numerous colors, textures, and styles allows for personalized expression and seamless integration with existing architectural details.
The impact of insulated vinyl siding on a home’s curb appeal is substantial. Careful selection of color, texture, and style can dramatically enhance the visual appeal, creating a more welcoming and attractive exterior. Conversely, a poorly chosen siding can detract from the home’s overall aesthetic. For example, a stark white siding might clash with a home’s brickwork or landscaping, while a muted, earth-toned option could blend seamlessly, enhancing the natural surroundings. The right siding choice can transform a house into a home that reflects the owner’s personality and taste.
Color Variety and Options
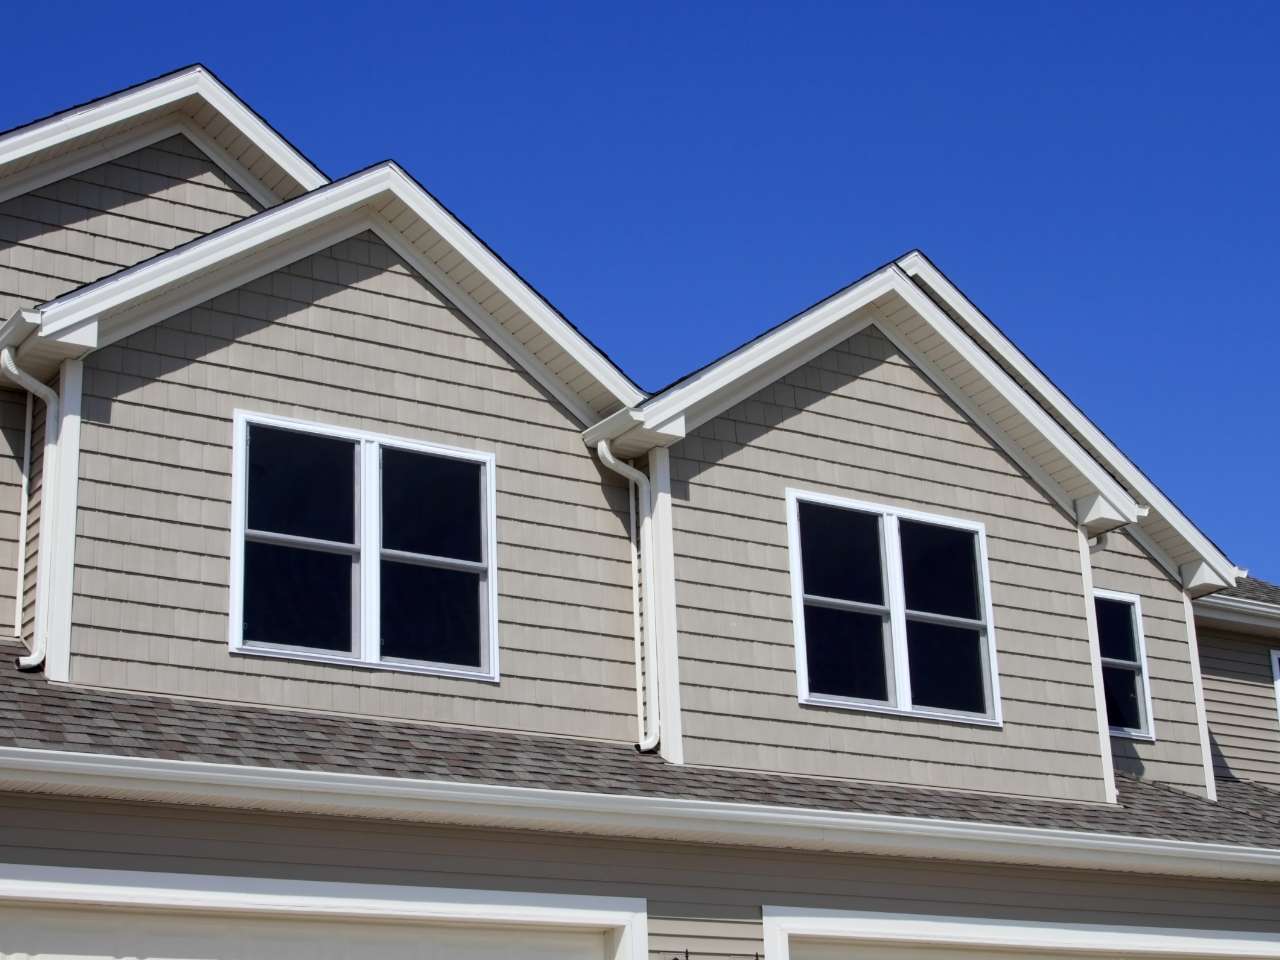
Insulated vinyl siding is available in a wide spectrum of colors, ranging from classic neutrals like white, beige, and gray to bolder hues such as deep blues, reds, and greens. Many manufacturers offer color palettes designed to coordinate with popular architectural styles and regional aesthetics. For example, a craftsman-style home might benefit from warm earth tones, while a modern home could be enhanced by cool grays or blacks. The permanence of the color, thanks to the siding’s UV-resistant properties, also contributes to long-term aesthetic appeal. This ensures the home maintains its fresh look for years to come, avoiding the fading and discoloration common with other materials.
Texture and Style Choices
Beyond color, insulated vinyl siding offers a variety of textures to mimic the appearance of other materials, such as wood, stone, or stucco. This allows homeowners to achieve the desired aesthetic without the high maintenance requirements of those materials. For instance, siding that replicates the look of cedar shakes can provide a rustic charm, while a smooth, stucco-like finish offers a clean, contemporary feel. Different profiles and panel sizes further contribute to the design possibilities. Some manufacturers offer wider panels for a more modern look, while others provide narrower panels to emulate traditional clapboard. The varied styles allow homeowners to tailor the appearance of their homes to their individual preferences and architectural style.
Impact on Overall Curb Appeal
The choice of insulated vinyl siding significantly impacts the overall curb appeal of a home. A well-chosen siding complements the home’s architecture, landscaping, and surrounding environment, creating a cohesive and visually pleasing exterior. A poorly chosen siding, however, can create a jarring contrast, detracting from the home’s aesthetic value. For example, a brightly colored siding on a traditionally styled home might appear out of place, while a dark-colored siding on a small home could make it appear smaller and less inviting. Careful consideration of color, texture, and style, along with the home’s existing features and the surrounding landscape, is crucial in achieving a visually appealing and harmonious result.
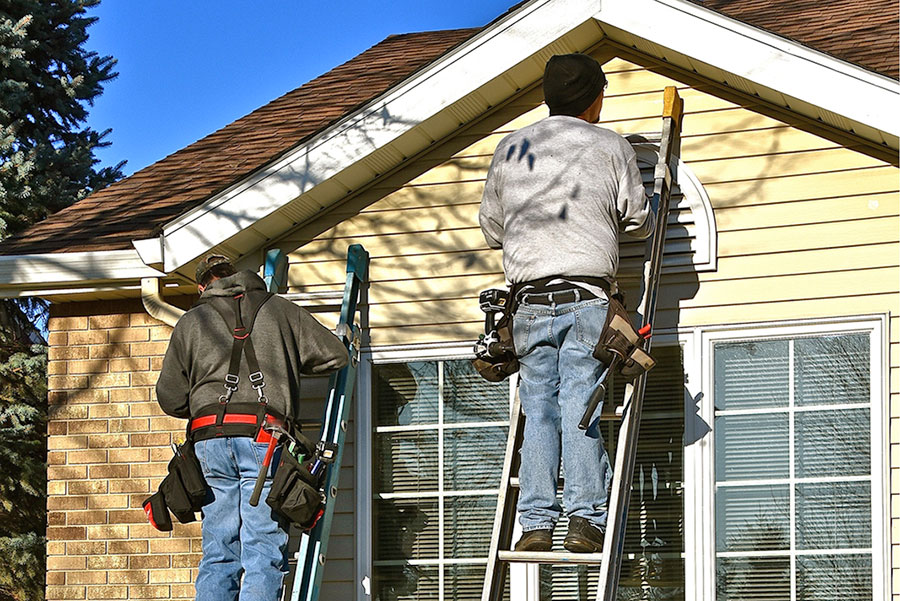
Installation Process and Difficulty
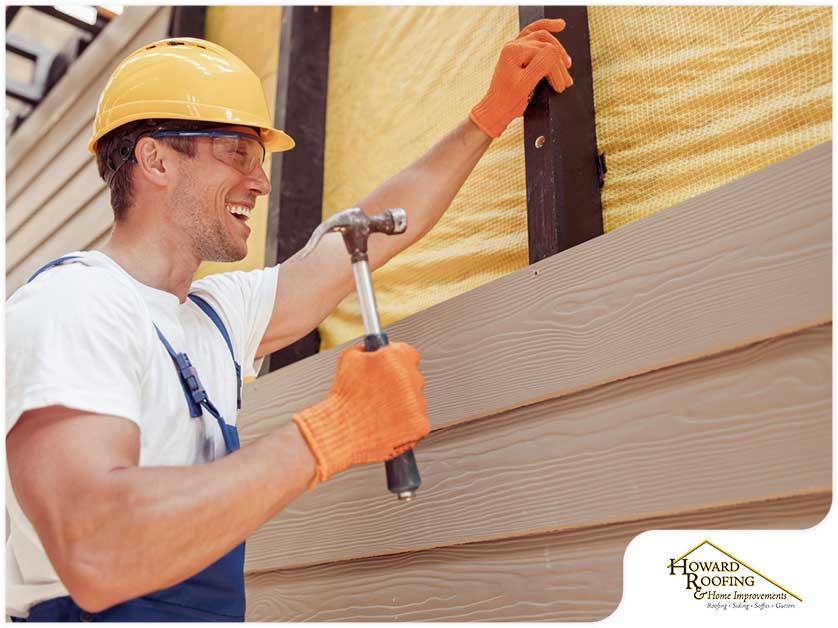
Insulated vinyl siding installation is a relatively straightforward process, though it does require some skill and attention to detail to ensure a professional-looking and long-lasting result. Proper installation is crucial for maximizing the benefits of the siding, including its energy efficiency and weather protection. While a homeowner with some DIY experience might attempt the installation, it’s often recommended to hire experienced professionals for larger projects to ensure proper techniques are used and the warranty remains valid.
The typical installation process for insulated vinyl siding involves several key steps. These steps are designed to create a seamless and durable exterior wall covering that provides both aesthetic and functional benefits.
Typical Installation Steps
The installation process typically begins with preparation and ends with final inspections and clean-up. A well-executed installation ensures the longevity and performance of the insulated vinyl siding.
- Preparation: This crucial first step involves measuring the area to be sided, ordering the necessary materials (including starter strips, J-channels, and trim), and preparing the existing wall surface. This may involve removing old siding, repairing any damaged areas, and ensuring the wall is clean and dry.
- Installation of Flashing and Water Barriers: Before siding installation, proper flashing and water barriers are installed around windows, doors, and other openings to prevent water penetration. This step is critical for preventing water damage and maintaining the integrity of the wall system.
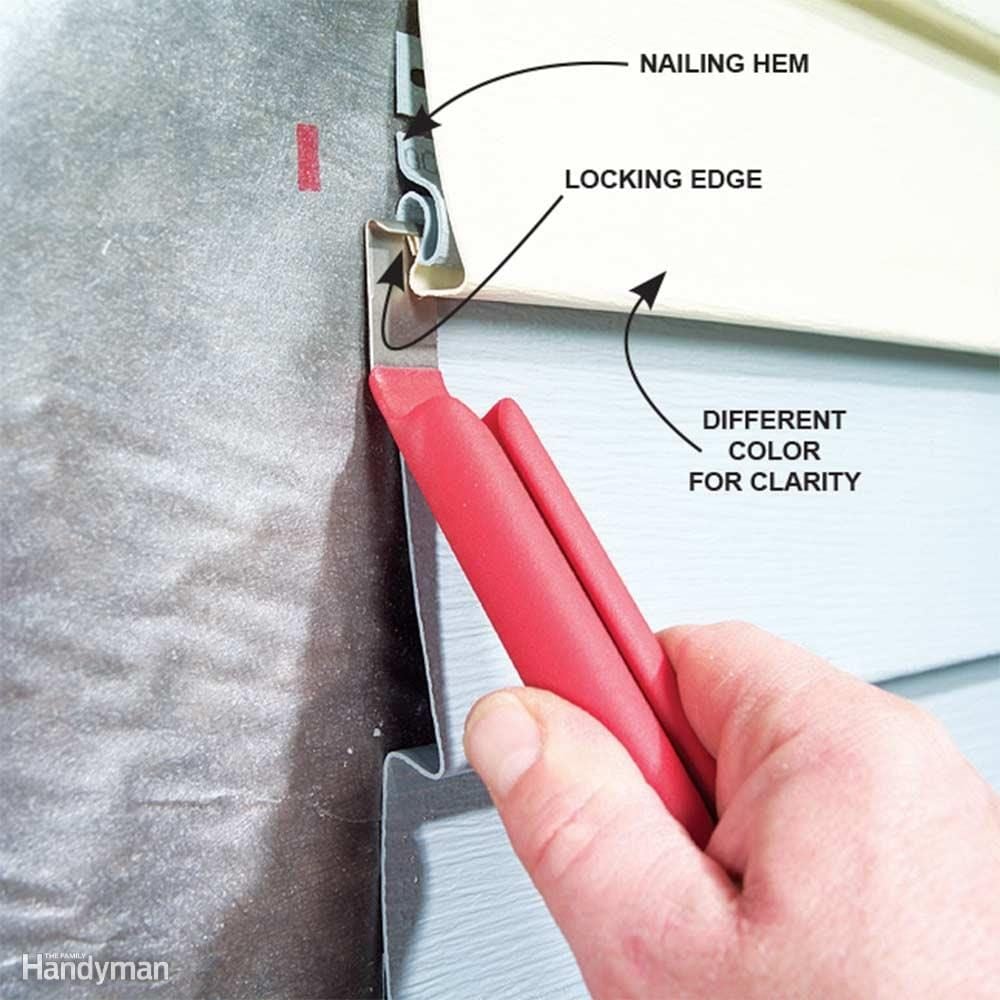
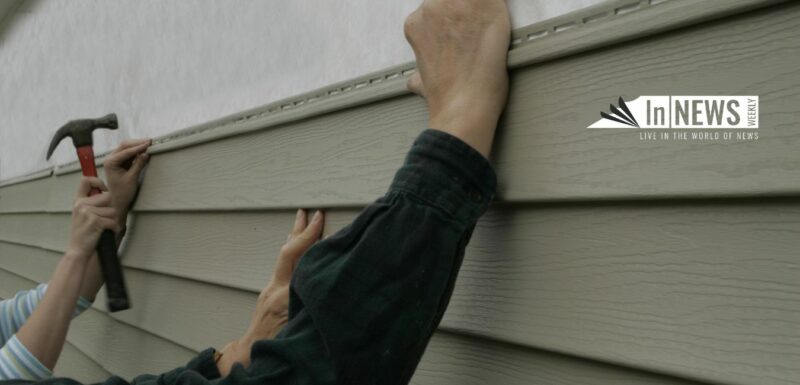
- Starter Strip Installation: A starter strip is installed at the bottom of the wall to provide a level starting point for the siding panels. This ensures a straight and even installation.
- Siding Panel Installation: Insulated vinyl siding panels are then installed, overlapping each other and engaging with the locking mechanism. This process is typically done from bottom to top, ensuring each panel is properly aligned and secured.
- Corner and J-Channel Installation: Corner and J-channel pieces are used to finish the edges of the siding and create a neat, professional look. These pieces are installed to neatly cover exposed edges and corners.
- Trim and Accessory Installation: Finally, various trim pieces, such as window and door trim, are installed to complete the look and provide additional protection. These pieces add the finishing touches and ensure a professional look.
- Final Inspection and Clean-up: A thorough inspection is conducted to ensure all panels are properly installed and there are no gaps or loose pieces. Any necessary adjustments are made, and the area is cleaned up.
Installation Difficulty Compared to Other Siding Types
The installation difficulty of insulated vinyl siding is generally considered moderate. Compared to other siding types, it presents a different set of challenges and advantages.
- Compared to Wood Siding: Insulated vinyl siding is generally easier to install than wood siding. Wood siding requires more precise cuts, more careful handling to avoid damage, and often needs more specialized tools. Wood also requires regular maintenance such as painting or staining.
- Compared to Fiber Cement Siding: Fiber cement siding is heavier and more difficult to handle and cut than vinyl siding, requiring more physical effort and specialized tools. It also requires more careful handling to avoid breakage.
- Compared to Aluminum Siding: Aluminum siding can be easier to install than insulated vinyl siding in some aspects, particularly in terms of weight. However, aluminum siding can be more prone to denting and requires careful handling to avoid damage.
Environmental Impact
Insulated vinyl siding presents a complex environmental profile, encompassing both the manufacturing process and the eventual disposal of the material. Understanding its impact requires considering its lifecycle, from raw material extraction to end-of-life management, and comparing it to alternatives. This section will explore the environmental considerations associated with insulated vinyl siding.
The manufacturing of insulated vinyl siding is energy-intensive. The production of vinyl involves the use of fossil fuels, primarily natural gas, resulting in greenhouse gas emissions. Furthermore, the creation of the insulating foam core often involves the use of blowing agents, some of which have been linked to ozone depletion and global warming. The transportation of raw materials and finished products also contributes to the overall carbon footprint.
Manufacturing Processes and Emissions
Vinyl siding production is a multi-stage process beginning with the extraction and processing of raw materials, including petroleum-based PVC (polyvinyl chloride) and additives. The polymerization of PVC is energy-intensive and releases volatile organic compounds (VOCs) into the atmosphere. The manufacturing of the foam core, typically polyurethane or polyisocyanurate, also contributes to greenhouse gas emissions through the use of blowing agents. While manufacturers are increasingly adopting more environmentally friendly blowing agents, the overall impact remains a significant consideration. The exact emission levels vary depending on the specific manufacturing processes and the chosen materials. Life cycle assessments (LCAs) conducted by independent organizations offer more detailed breakdowns of emissions associated with different manufacturers and product formulations.
Disposal and Recycling of Vinyl Siding
Disposal of vinyl siding poses another environmental challenge. Vinyl siding is not readily biodegradable, and landfilling it contributes to the accumulation of waste in landfills. While some vinyl siding can be recycled, the recycling infrastructure for this material is not as well-developed as for other building materials. The recycling process itself can also consume energy and resources. Many municipalities do not have dedicated recycling programs for vinyl siding, leading to its disposal in landfills where it can persist for centuries. The incineration of vinyl siding, while reducing landfill volume, releases harmful pollutants into the air if not properly managed. This makes responsible disposal crucial for minimizing the environmental impact.
Comparison with Other Siding Materials
The environmental impact of insulated vinyl siding must be weighed against other siding options. For instance, wood siding, while renewable, often requires the use of pesticides and herbicides during its cultivation and can have a significant embodied carbon footprint depending on its source and transportation. Fiber cement siding, though durable and relatively low-maintenance, has a high embodied energy content due to its manufacturing process. Metal siding, often made from recycled materials, has a lower carbon footprint than vinyl but can contribute to light pollution and requires significant energy for production. A comprehensive comparison requires considering the entire lifecycle of each material, including manufacturing, transportation, installation, maintenance, and disposal. Independent LCA studies provide valuable data for making informed comparisons.
Maintenance Requirements
Insulated vinyl siding is renowned for its low-maintenance nature, a significant advantage for homeowners. However, while it requires less upkeep than many other siding materials, regular care ensures its longevity and continued aesthetic appeal. Understanding the necessary maintenance tasks and comparing them to alternatives helps homeowners make informed decisions.
Regular cleaning is the cornerstone of maintaining insulated vinyl siding. Dirt, pollen, and other airborne debris can accumulate, dulling the siding’s appearance and potentially trapping moisture. This can lead to discoloration or even damage over time.
Cleaning Insulated Vinyl Siding
Cleaning insulated vinyl siding is a straightforward process. A simple solution of mild detergent and water, applied with a soft-bristled brush or sponge, is usually sufficient. For stubborn stains, a pressure washer can be effective, but it’s crucial to maintain a safe distance to avoid damaging the siding. Always rinse thoroughly with clean water afterward to remove any soap residue. Annual cleaning is recommended, with more frequent cleaning in areas with heavy pollution or tree cover. Avoid harsh chemicals or abrasive cleaners, as these can scratch or damage the vinyl surface.
Repairing Damaged Insulated Vinyl Siding
While durable, insulated vinyl siding can sometimes be damaged. Minor scratches or dents may only require cleaning and potentially some touch-up paint. More significant damage, such as cracks or holes, may necessitate replacing individual panels. This is generally a relatively easy repair for DIY homeowners with basic tools, but larger repairs or extensive damage might require professional assistance. The ease of replacing individual panels is a key advantage over some other siding materials, where damage may necessitate more extensive and costly repairs.
Maintenance Comparison with Other Siding Options
Compared to wood siding, insulated vinyl requires significantly less maintenance. Wood siding needs regular painting or staining to prevent rot and insect infestation, and it’s susceptible to warping and cracking. Aluminum siding, while durable, can dent easily and may require repainting to maintain its appearance. Fiber cement siding, while very durable, is more challenging to repair and requires more intensive cleaning than vinyl. Brick, stone, and stucco, though highly durable, are the most demanding in terms of cleaning and repair, often requiring professional assistance for significant maintenance. The low-maintenance nature of insulated vinyl siding significantly reduces both time and cost commitments compared to these alternatives.
Warranty and Guarantees
Choosing insulated vinyl siding involves a significant investment, making the manufacturer’s warranty a crucial factor in your decision. Understanding the terms and conditions of these warranties is vital for protecting your investment and ensuring long-term satisfaction. This section details typical warranty offerings and highlights some key differences among manufacturers.
Manufacturers typically offer warranties covering various aspects of their insulated vinyl siding products. These warranties often include a limited lifetime warranty on the material itself, protecting against defects in manufacturing such as cracking, fading, or peeling. Additionally, many manufacturers offer warranties against damage from extreme weather conditions, such as hail or high winds. The specific coverage and duration can vary significantly, however, depending on the brand and the specific product line. It’s essential to read the fine print carefully before making a purchase.
Typical Warranty Coverage
Most manufacturers provide warranties covering defects in material and workmanship. This typically means that if the siding develops a defect due to a manufacturing flaw within the warranty period, the manufacturer will replace the defective siding at no cost to the homeowner. Some warranties extend to cover issues arising from normal wear and tear, while others specify exclusions for damage caused by improper installation or acts of God. For example, a manufacturer might offer a 50-year warranty against fading, but this might not cover damage caused by a severe hurricane. The warranty document will explicitly outline these conditions.
Comparison of Warranty Offerings
While comparing warranties across different manufacturers requires reviewing individual documents, some general trends can be observed. Companies known for higher-end products often offer more comprehensive warranties with longer coverage periods. For instance, one manufacturer might offer a lifetime warranty against fading and cracking, while another might offer a shorter, limited warranty with more restrictions. Similarly, some warranties cover labor costs associated with repairs or replacements, while others only cover the cost of the materials. A homeowner considering different brands should compare these factors carefully to determine the best value. It is advisable to obtain warranty documentation from multiple manufacturers and compare the details of their offerings side-by-side. Pay close attention to the fine print and understand the limitations and exclusions before making a purchasing decision. The most comprehensive warranty isn’t always the best; the best warranty is the one that best fits your needs and expectations.
Sound Insulation Properties
Insulated vinyl siding offers a degree of sound insulation, though it’s not its primary function. The insulating foam core contributes to noise reduction by absorbing some sound energy before it reaches the underlying wall structure. However, it’s crucial to understand that the level of sound dampening provided is relatively modest compared to specialized acoustic materials.
The noise reduction provided by insulated vinyl siding stems primarily from the air space created by the foam core. This air gap acts as a barrier, hindering the transmission of sound waves. The density and thickness of the foam core directly impact its sound-absorbing capabilities; thicker, denser foam offers better sound insulation. The effectiveness is also influenced by the overall construction of the building, including the wall assembly and other materials used.
Comparison of Noise Reduction with Other Siding Materials
Insulated vinyl siding’s sound insulation properties are comparable to, or slightly better than, standard vinyl siding, which offers minimal sound dampening. However, it generally falls short of materials specifically designed for acoustic performance, such as solid wood siding or certain types of fiber cement siding. These materials, due to their density and mass, offer superior sound absorption and reduction capabilities. For instance, a thick, solid wood wall would demonstrably reduce noise more effectively than insulated vinyl siding, due to the wood’s density and inherent sound-dampening properties. Similarly, engineered wood siding products often outperform insulated vinyl siding in acoustic performance. The choice of siding material for noise reduction should be carefully considered based on the specific needs and priorities of the project, weighing the benefits against other factors like cost, maintenance, and aesthetic appeal.
Resistance to Pests and Mold
Insulated vinyl siding offers several advantages regarding pest and mold resistance, contributing to its long-term durability and low-maintenance profile. Unlike wood siding, which is susceptible to various forms of damage, vinyl’s composition provides a significant barrier against many common household pests and the growth of mold and mildew.
The inherent properties of vinyl make it an unattractive habitat for many insects and pests. Termites, for example, find it difficult to penetrate and digest vinyl, unlike wood. Similarly, other wood-boring insects are deterred by the material’s non-porous nature. This resistance reduces the risk of structural damage and the need for costly pest control treatments.
Pest Resistance of Insulated Vinyl Siding
Insulated vinyl siding’s resistance to pests stems from its composition and manufacturing process. The material is non-porous, meaning it doesn’t provide the necessary food source or moisture for many insects to thrive. This is in stark contrast to wood siding, which is porous and readily absorbs moisture, creating an ideal breeding ground for insects and encouraging decay. Furthermore, the solid, continuous surface of vinyl siding leaves little space for insects to burrow or nest. While no material is completely pest-proof, vinyl siding offers a significant level of protection compared to traditional wood alternatives. For instance, in regions with high termite activity, choosing vinyl siding can significantly reduce the likelihood of infestation and the associated repair costs.
Mold and Mildew Resistance of Insulated Vinyl Siding
Vinyl siding’s resistance to mold and mildew is equally important. The non-porous nature of the material prevents moisture absorption, hindering the growth of mold and mildew. This is crucial because moisture is a primary catalyst for fungal growth. Unlike wood, which can retain moisture and become a breeding ground for mold and mildew, vinyl siding sheds water effectively, minimizing the risk of fungal colonization. The smooth surface of vinyl siding also makes it easier to clean, further reducing the chances of mold and mildew buildup. Regular cleaning with soap and water is usually sufficient to maintain the cleanliness and prevent the growth of these organisms. This characteristic contributes to the overall longevity and aesthetic appeal of the siding, reducing the need for costly repairs or replacements due to mold damage. This contrasts sharply with wood siding, which often requires more frequent cleaning and treatment to prevent mold and mildew problems.
Resale Value Impact
Insulated vinyl siding’s impact on a home’s resale value is a complex issue, influenced by various factors beyond just the siding itself. While it offers several benefits that can indirectly boost value, the direct impact is often subtle and depends heavily on the overall condition of the property and prevailing market trends. A well-maintained home with attractive, high-quality insulated vinyl siding will generally command a better price than a comparable home with older, damaged, or less desirable siding. However, it’s crucial to remember that siding is just one aspect of a home’s overall appeal.
The presence of insulated vinyl siding can positively influence a home’s resale value primarily by enhancing curb appeal and energy efficiency. Potential buyers are often attracted to homes that appear well-maintained and offer lower utility costs. Energy-efficient features, such as insulated siding, are increasingly sought after in today’s market, reflecting a growing awareness of environmental concerns and long-term cost savings. This translates to a potentially higher asking price and faster sale compared to homes with less energy-efficient exterior cladding. However, overspending on premium siding in a neighborhood where such features are not highly valued might not yield a proportional return on investment.
Comparison of Siding Materials’ Impact on Market Value
Different siding materials have varying effects on a home’s market value. High-end materials like fiber cement or cedar shake generally command a premium, reflecting their higher initial cost and perceived prestige. However, these options also require more maintenance and may not always be the most cost-effective choice. Aluminum siding, while durable, is often perceived as less aesthetically pleasing and may not add significant value compared to vinyl. Brick, stone, and stucco are considered high-value materials, but their installation costs are considerably higher than vinyl siding. The optimal choice depends on a variety of factors including the home’s style, location, and the target buyer demographic. For example, a contemporary home in a modern development might benefit more from fiber cement siding than a traditional home in a suburban neighborhood, where vinyl siding might be perfectly appropriate and competitive. In many cases, insulated vinyl siding presents a strong balance between cost-effectiveness, durability, and aesthetic appeal, making it a viable option for increasing a home’s resale value without excessive investment.
Ultimate Conclusion
Ultimately, the decision of whether or not to install insulated vinyl siding hinges on a careful consideration of individual needs and priorities. While the initial cost may be higher than some alternatives, the potential for long-term energy savings and low maintenance can offset this expense. The durability, aesthetic versatility, and relatively straightforward installation process further enhance its appeal. However, potential environmental concerns and limitations in design flexibility warrant careful evaluation. By weighing the pros and cons outlined in this guide, homeowners can make a well-informed decision that aligns with their budget, lifestyle, and long-term goals.